Previous:Robe a la francaise - corset
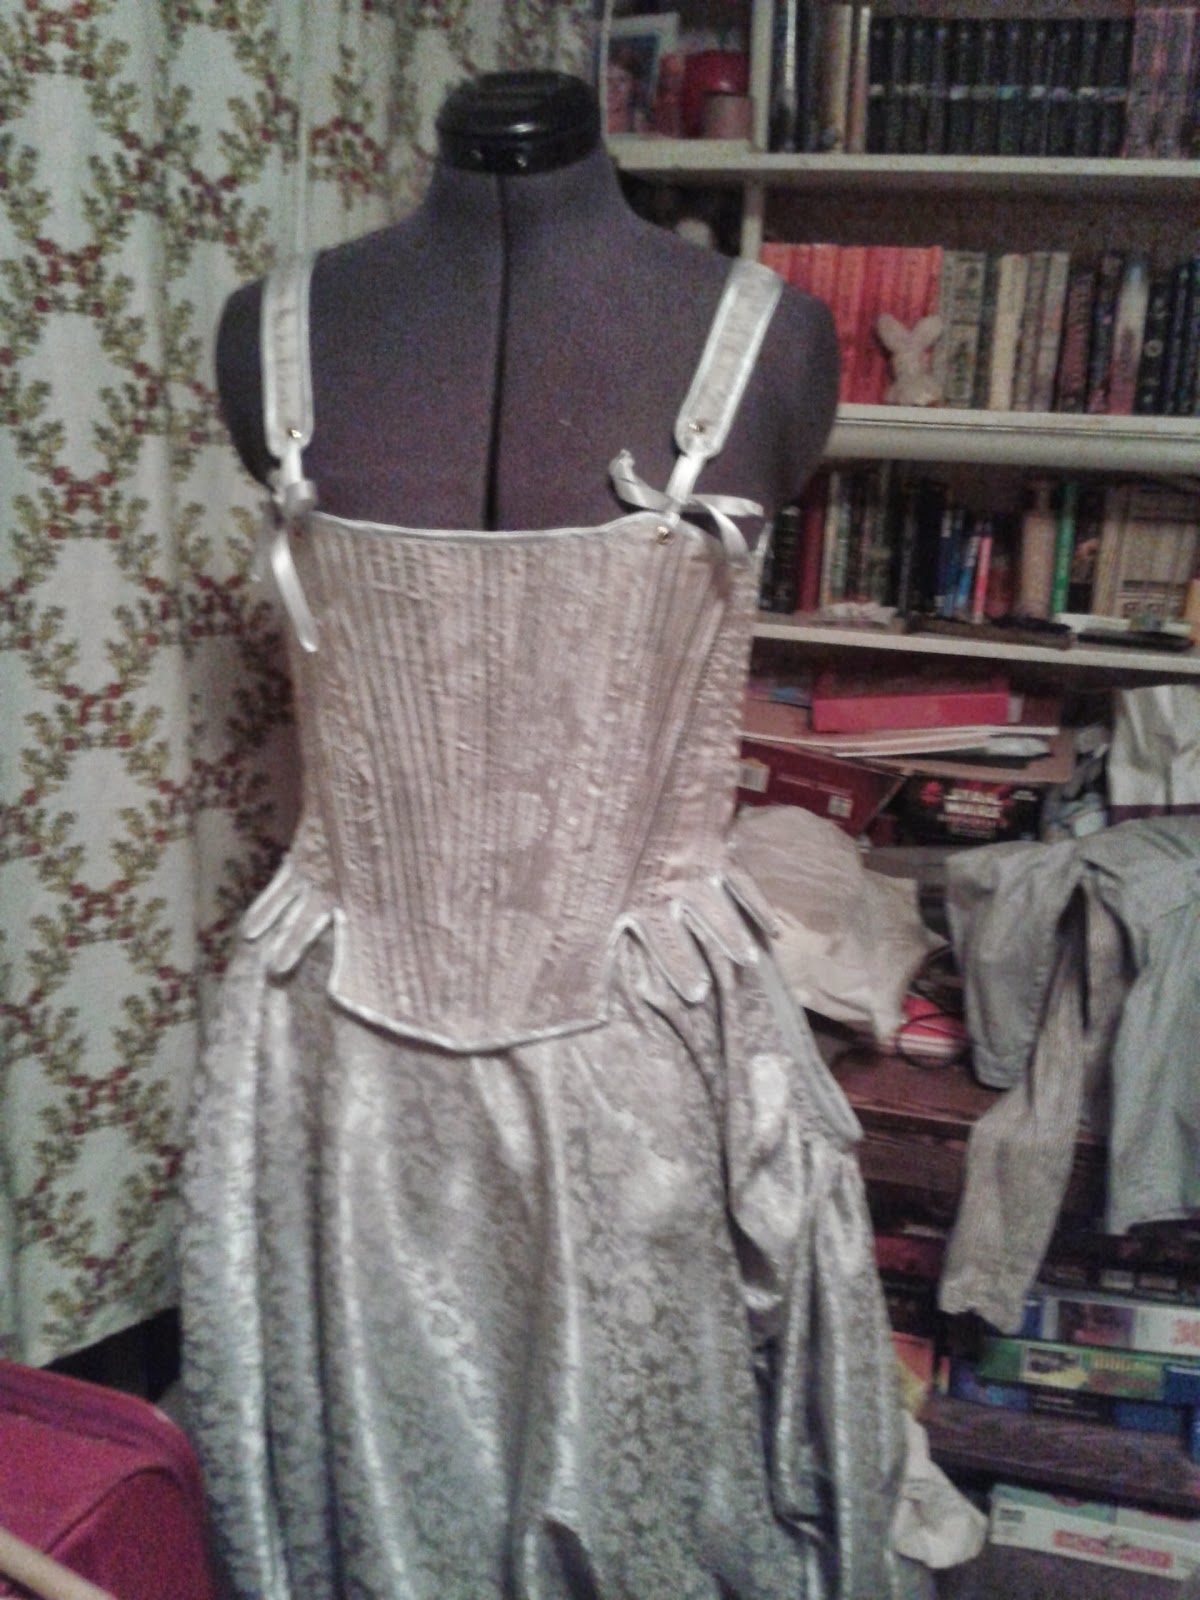
So, now when I was done with the corset, I started with the actual dress. The dress itself will contain many pieces and I went with the most easiest one at first - petticoat. I had nice silver fabric for that. The main question for me was how will I decorate the petticoat. As the fabric itself had quite a lot of pattern, I decided to go with just a frill at the bottom. As most of the petticoat is going to be hidden under the dress, I only made the frill at the front part of the petticoat.
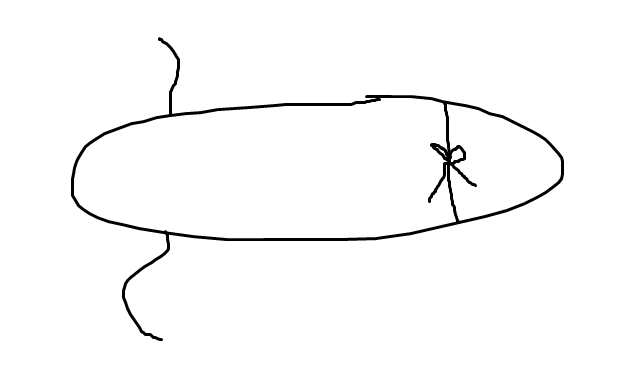
Making the petticoat was quite easy. The petticoat contained two rectangular pieces. Both sides had been gathered and lined. For wearing the petticoat,it has ribbons that could be used to knot the petticoat around the waist. In order to have the side pockets (that became out to be brilliant to put hide things under the dress with a little bag) hold together, I used hooks on both sides to force it to be closer.
 |
| (sorry for not my so great drawings) |
 |
| Petticoat is ready (without pannier) |
Then, the next step for myself was making the panier. I did not had pattern for it but just followed instructions from this great site: http://www.marquise.de/en/1700/howto/frauen/paniers.shtml The difference was that I decided to make not a long panier but quite short and modified the suggested pattern in a way that i could cut it out from two pieces of fabric. I used really strong linen and strong metallic corset supports (they were quite expensive but I knew that in order to hold that weight that the dress is going to be, I need something strong.
So, first I sewed two pieces of panier together and then I used satin ribbon to make tunnels where I pushed in the metallic corset supports. My mistake was that I did not thought that the metal is going to push itself out of the satin ribbon and I tried to fix it by adding extra pieces at the end of the tunnels from even stronger fabric and it helped a little but it is not perfect solution.
 |
| Using ribbons at the bottom to make the panier be in the right shape |
To hold the panier in the right shape, I added four ribbons (atlas ribbon again) at the bottom of the pannier that could be used to knot together and therefore force the panier into the required shape. Also, there are ribbons at the top that are used to knot the panier around the waist.
In the end, I must say, panier was much more trouble than I expected and metal was hard to work and tunnels took long to make. I am not happy with my result as it contains some sloppy sewing but my excuse was - it is going to be under the dress: noone is going to see it.
 |
| Panier under the petticoat. |
When I had finished with panier and tried petticoat under it, I realized that the petticoat was wider than my panier (and even thought I felt myself so wide when I tried panier on myself and had to go trough doors sideways). So, I took the pleads at the sides together more, almost 1/3 I would say as the original pattern seems to be for so much wider skirt.
 |
| Fixed petticoat with panier |

No comments:
Post a Comment