After the underwear, I did the trousers as I found it to be "easier" than other prospective parts. The pattern for them was very easy as I found from the literature that very simple and wide trousers were used. I actually even found a drawing (small drawing in scientific paper) how the trousers looked. So, I did the pattern, keeping in mind that the trousers seemed to have a buff around the boots. (The thing I did not consider was how the trousers affect the boots :P I did remembered it luckily in the end when I made boots).
The sewing was very simple. I did not use waistband as there were none mentioned in the literature - only cords. The bottom was covered with embroidery inspired by the refernce:
 So, the result:
 The skirt was trickier as I started to realize that different images in manga have different embroidery for the skirt. My main reference had two layers of spikes and the first test I did for the skirt (that was probably way before I actually started making anything and while I was still doing the research) was done with machine:
 It was way too big, not natural and did not had this feel I desired. (Plus the red was off but I mean, I hadn't found the right die from literature yet).
So, I dropped the idea of machine embroidery for skirt quite early and the underwear actually only convinced me that this was the right choice.
The reference problem remained:

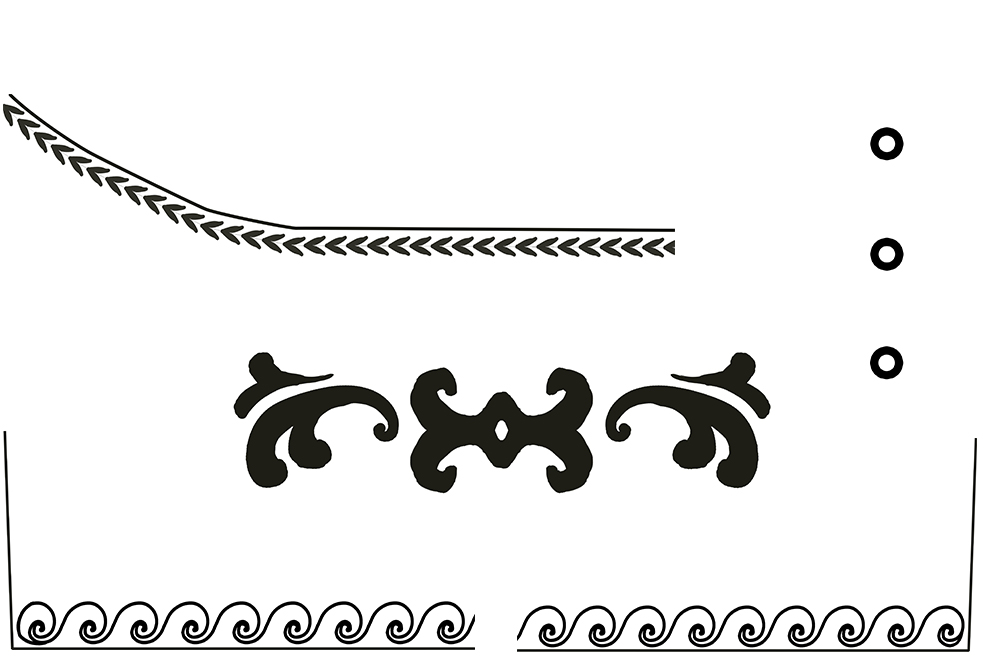
 My main reference (right) had this more complex embroidery but the secondary (left) had embroidery style that was much more often used in other covers and on manga. So, I was little torn. Do everything as in one image or use the most "common" style. I went with common at this point but later (with the blouse), when I realized there is no common ground, I continued using only the main image.

Then.. it was just hand embroidery and lot of threads of red mouline. It took me around two months I think? I loved that on the volume 2 and 6 cover I could actually see the stitches and mimick them :) It was much nicer than just figuring how to fill a red line.
On reference the skirt has really nice volume so instead of just full circle I used three halfs. It had nice volume on its own but in the end, the hard coat is "taking down" the volume. (I ofcourse hated the three halfs due to the fact that it took 1/3 more time to do the embroidery. Imagine.. everything else had some variety. With skirt it was just same thing over and over again for meters. I think I actually measured the outer side of the skirt. I do not remember precisely but was it 8 meters? And three lines + those spikes.. It was very monothone).
 Again, no waistband as it was not used in the area On this image above I have horrible modern cord. In the end, I found nice cotton cord that had this kind of natural white (not bleached) look o fit perfectly with the fabric of the skirt.
(Later I actually found image from manga where Amira's skirt is visible that proved me again that cords and tunnels were used and that fact was also known by the manga's author):
 (This image has different closure to the top than my version but as I said - I discovered this much later. I actually think it was in August? I was making skirt and trousers at the beginning of the year. That was one of the surprising things. I thought I covered the mangas very thoroughly before I started but during the process, I sometimes were just flipping pages and I found new details I had missed like tens of times before..)
 Here it is: trousers and skirt. Looking very nice :) I really love the volume of the skirt and I was little sad the coat pushed it down so much.
Posts:
*Getting started
*Underwear
*Skirt and trousers
*Blouse
*Coat
*Jewelry
*Boots
*Accessories
*At Animatsuri
*At Eurocosplay
The sewing was very simple. I did not use waistband as there were none mentioned in the literature - only cords. The bottom was covered with embroidery inspired by the refernce:


So, I dropped the idea of machine embroidery for skirt quite early and the underwear actually only convinced me that this was the right choice.
The reference problem remained:


Then.. it was just hand embroidery and lot of threads of red mouline. It took me around two months I think? I loved that on the volume 2 and 6 cover I could actually see the stitches and mimick them :) It was much nicer than just figuring how to fill a red line.
On reference the skirt has really nice volume so instead of just full circle I used three halfs. It had nice volume on its own but in the end, the hard coat is "taking down" the volume. (I ofcourse hated the three halfs due to the fact that it took 1/3 more time to do the embroidery. Imagine.. everything else had some variety. With skirt it was just same thing over and over again for meters. I think I actually measured the outer side of the skirt. I do not remember precisely but was it 8 meters? And three lines + those spikes.. It was very monothone).

(Later I actually found image from manga where Amira's skirt is visible that proved me again that cords and tunnels were used and that fact was also known by the manga's author):


Posts:
*Getting started
*Underwear
*Skirt and trousers
*Blouse
*Coat
*Jewelry
*Boots
*Accessories
*At Animatsuri
*At Eurocosplay