Showing posts with label boning. Show all posts

Tuesday, May 19, 2015

Civil war era dress - the jacket

I started this civil war area dress with the jacket.

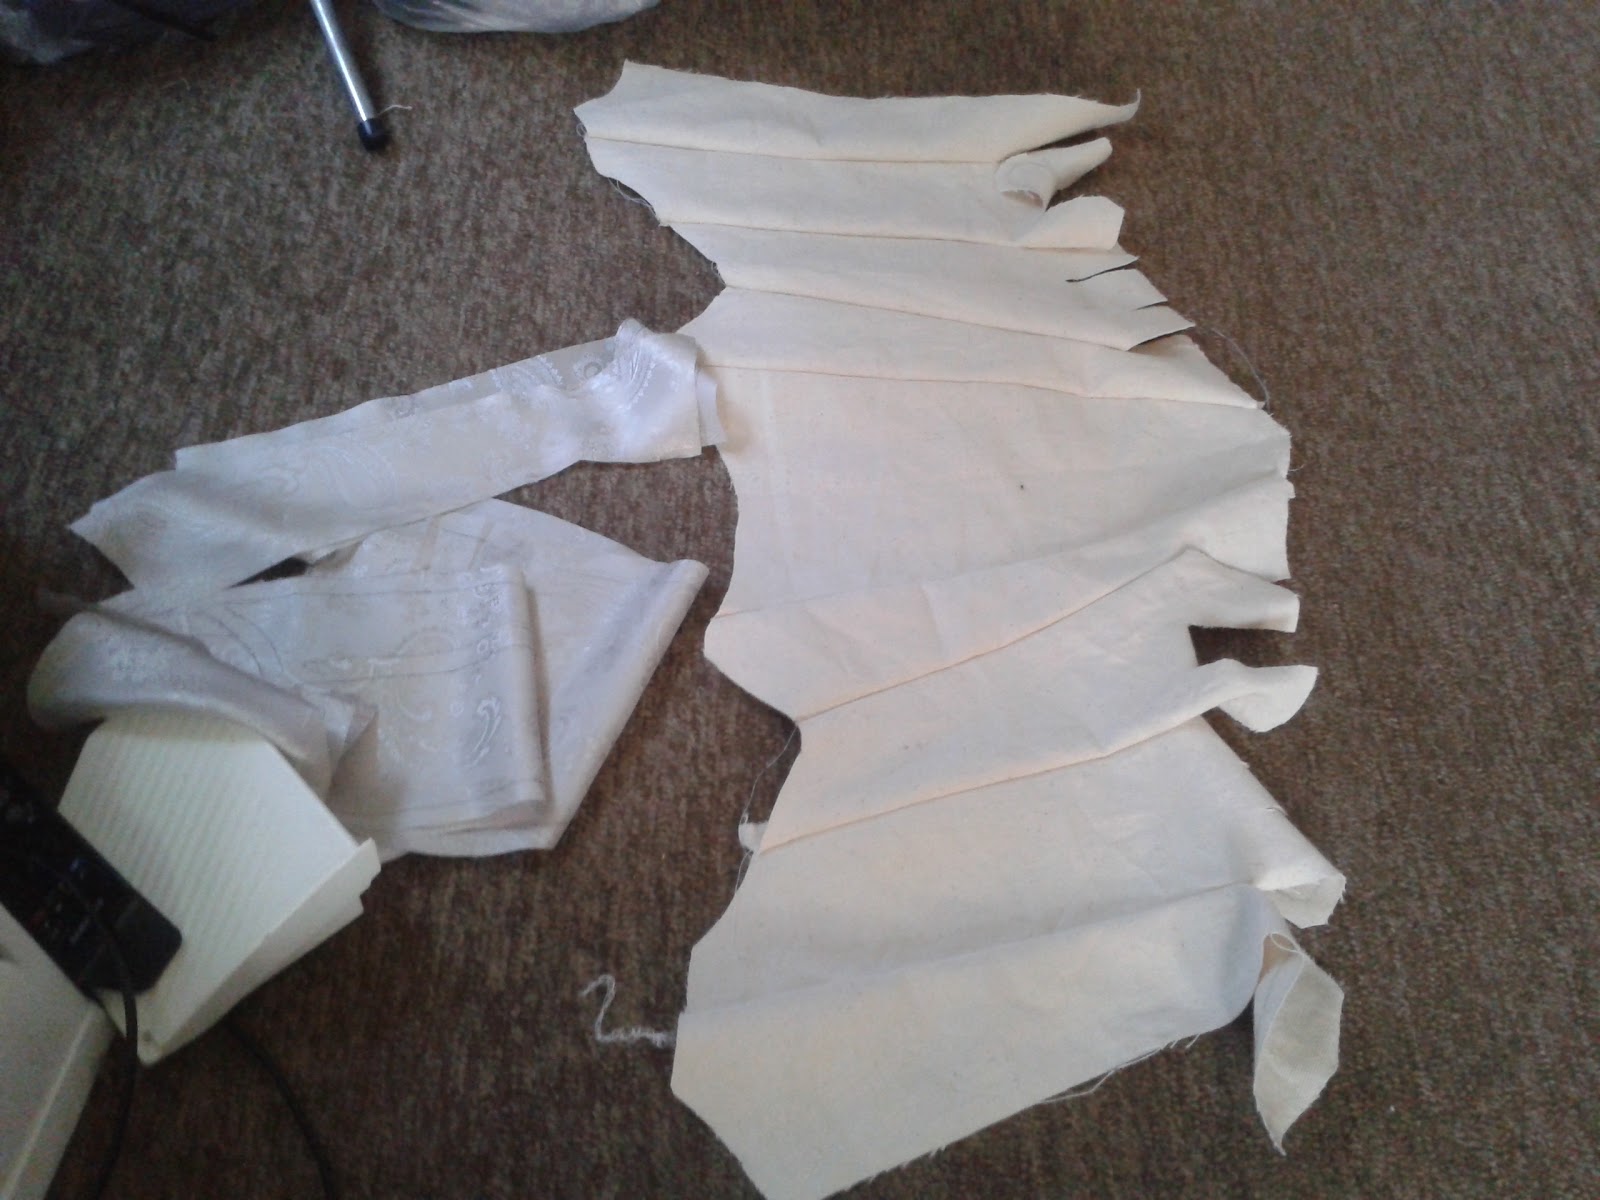
As always with me and simplicity patterns, I cannot understand the instructions. I cut all the pieces from the main fabric and then I used quite strong linen I have tons off for the lining of the jacket. When I tried to combine together main back piece and the back side pieces they just would not. I tried to read the instructions and figure it out again but no help. So I just used my own imagination and aligned the pieces so that the arm wholes and the bottom part of the back fit and there is some overlap in the middle. I still think there was some clever trick how to give wearer a better mobility but I was not able to see it. Also, the pattern did not seemed to care too much about the lining and all the seams were left visible from the wrong side. Correct me if I am wrong but I honestly think the point of lining is to make the gown look gorgeous also from the inside. Therefore I again took some liberties from the pattern and combined pieces together so that all the seams are hidden.
Trying to figure out the back
I also had some great time adding the boning. This time, in contrast to my Robe ala Francais, I knew what I was doing and I made some nice tunnels for the boning plus I made sure that the sides are all well supported by tucktape (I haven't figured out any other easy way).
Back starts to come together
The next major thing were the sleeves. At this point I tried to follow the instructions and make the ruffles from the same fabric as the dress. I spent whole evening with that mess. The fabric was too stiff and too hard for that and I wasted many hours.

Next day I was off to a fabric shop again and my plan was to get similar color really light fabric that I could use to make ruffles. I was still really mad about all the edges that took hours. So, I decided to go with easy way out and buy quite expensive lace that I used for the sleeves. They had it on very limited amount so I did not managed to save anything for later part of the dress - all the lace I got when to the sleeves.
I also got the black ribbon and I started to like where this is going. It looked gorgeous and lace was easy to gather - no worrying about the edges.

When I used the white linen as lining for the bodice to keep it strong, I used that nice black lining fabric for lining on the sleeves.
The next step was the collar. I planned to use the organza with embroidery as the top layer of the collar. The middle layer or the main layer was the purple fabric and it had black lining on the other side. 

The main trouble with the collar was that the pattern had really small opening for the head. I was not sure if it was my sewing margin do I have larger neck that the pattern assumed.. I had to do a lot of fixing and I was really scared to cut too much or cut from the wrong place.
I first planned to have a purple ribbon with the same style as the black I used on the sleeves over the collar but I could not figure where it would be best - on the side of the collar or little bit inside and in the end I really started to love my collar without it. So, the ribbon was left out in the end.
Those pads were very funny. I have no idea what were their point. I just followed the instructions and sewed them in, being really worried that they will make the dress look weird. I am not sure if they made it better or if they had any effect at all. I think that they probably should have helped to compensate that at the front the top part of the jacket had a lot of space. If I had needed to fill those pads so that there is no space left, I would have needed much more than three layers of cotton batting inside.
Sleeves added to the jacket

Trying the jacket on the mannequin
When I had sewed the bodice and the sleeves together I tried it on the mannequin and tried it on myself and realized that I had not done it before and ofcourse, it did not fit. The waist was too small and I mean - I have very small waist. Because all of those waist seams had tunnels and boning it was horrible to undo it. I left it like that currently and hoped that when I wear the corset and I add the snap fasteners and buttons maybe it will be fine.

Next step: the bottom part of the jacket and uncharted territory as I had no guide nor no patter. I just improvised and at first it looked like I can pull it off. The front two panels were the ones I did twice. The bodice at the front has those really nice seams in the middle and I had hard time figuring out how to match them at the bottom part. At first try, I did not take them to account and I think it looked off without those seams. So, I remade the first panel so that it has those seams and it was much better. I used the black fabric for lining.
Next step was to sew bottom and top together and to make that "overlap" at the front to match was a trouble. It looked lovely (and I am confused why I do not have any photos of that on its own.

So, I left the jacket for a while and went to deal with the skirt.. and horrible meters of ruffles.
<<Previous|Next>>

Thursday, September 4, 2014

Robe à la Française - corset


So, the first step was working with the corset. I have never made anything like corset before. So, I was little daunted by the prospect. Anyway, after some research I found Isis' Wardrobe blog where she had linked a pattern for 18th century corset
http://isiswardrobe.blogspot.com/2011/05/red-stays.html
It looked like something I was looking for.. It also did not scared hell out of me.. so I used the trick I learned from art class - using squares to magnify the image. First I was doing the squares by hand but then I remembered I could use excel to print myself right size squares (I had to figure out how much I actually need to magnify those patterns). 
Making squares, by hand, at first - printing was so much easier

The square method works the following way:
  • I make small squares on the original image, so that it would be easier to copy details
  • I make sheets with larger squares (depending how much I want to magnify the original image)
  • I copy, by hand, those squares, one by one into the larger sheets.. and voila :D
Anyway, this is how I got myself the pattern for the corset. I did it twice - first time I did magnify little too much. Second time, I got it right. I tried my newly made pattern on the mannequin and I was actually surprised it fit that well.

Even thought it fit quite all right, I decided to make a quick mock-up to really see where I need to adjust the pattern. I used some really cheap fabric and it is horribly lousy but the mock up:
After the mock up, I saw that there were some adjustments to be made (mostly at the front where I am smaller than the pattern) and I modified my cut-out patterns. Then, I went for my really nice lining fabric to cut put the pieces. It looks silver, soft and nice. The only problem - my usual marking tools did not worked on the light fabric and pencil did not made any marks either.. so, I used gel pen that was way too strong and left marks that were visible on the other side - I had to pay a lot of attention to sew it together without mistakes. For the lining, of the corset, I used quite strong linen.

First step was to sew everything together so that the corset would be one piece:
Corset lining sewed together and
For the boning, I bought 17 meters (:S) of really light plastic boning. It has fine zones and it is not as width as my pattern assumed.. so that became tricky later. Anyway, it was cheap and in the end, it did the work perfectly. 
corset main fabric and those really ugly black gel pen lines :S
Anyway, when I had both sides made, I sewed the corset together, sewed the lines that have to fit and started to insert the boning (I left the top part open). I started with those small things at the bottom and it was actually great to see when the corset started to take a shape. Then, I submitted boning to the edges and submitted rivets. I had never done that before and that was tricky. I managed to get some kind of set from the fabric shop where you have to use plastic thing where you put the rivet and then hit it with the hammer. I was first scared about the strength I had to put behind the hammer but otherwise the rivets just well out. Then, after like 10 rivets, the plastic thing started to wear out that made later rivets more out of shape as I had to hit them more and harder. In the end, it did not looked too bad.

So, the boning. As it was plastic, it was not a problem for me to sew over it. I must say, I am not even sure what method I used. I first thought I made a tunnel for the boning and then pushed it into but on the other hand - I know I am horrible at sewing straight lines, so I think I probably put the boning there and tried to sew the tunnel while the bone was set.. I know in some places I sew over the boning.. Anyway. It took a lot of work and patience but the result was worth it.
Almost done. I ran out of boning and needed to get some meters more
When I had done with the boning, I worked at the top side. It was a lot of work by hand. Also, I used silver tape on all sides to make sure that the boning would not "eat" trough the fabric. it seemed sufficient enough. 

The mistake I did with the top side was that when I made the tunnels for the bones, I sew it almost to the top side.. Now, when I wanted to turn the two fabrics together to make it look nice, I had to undo  5 cm or so everywhere at the top, finish the top side and then sew, again, those boning tunnels so that it would be finished. Part of not thinking ahead.

Then, I wanted to put a bias tape at the side of the corset for effect- I had nice silver bias tape and then i got few meters of silver atlas tape for the back. Hours small handwork to take the bias tape and then some tricky sewing with the machine and done:
front
back

So, it took me around 3 weeks to make the corset, from the patterns to final piece. And I did put huge hours to it. It was hard and tricky but unexpectedly pleasant. I would have never thought myself that I would make a corset myself and that it was not that hard. lot of patience and work but nothing I could not do. And it feels brilliant when I wear it :D