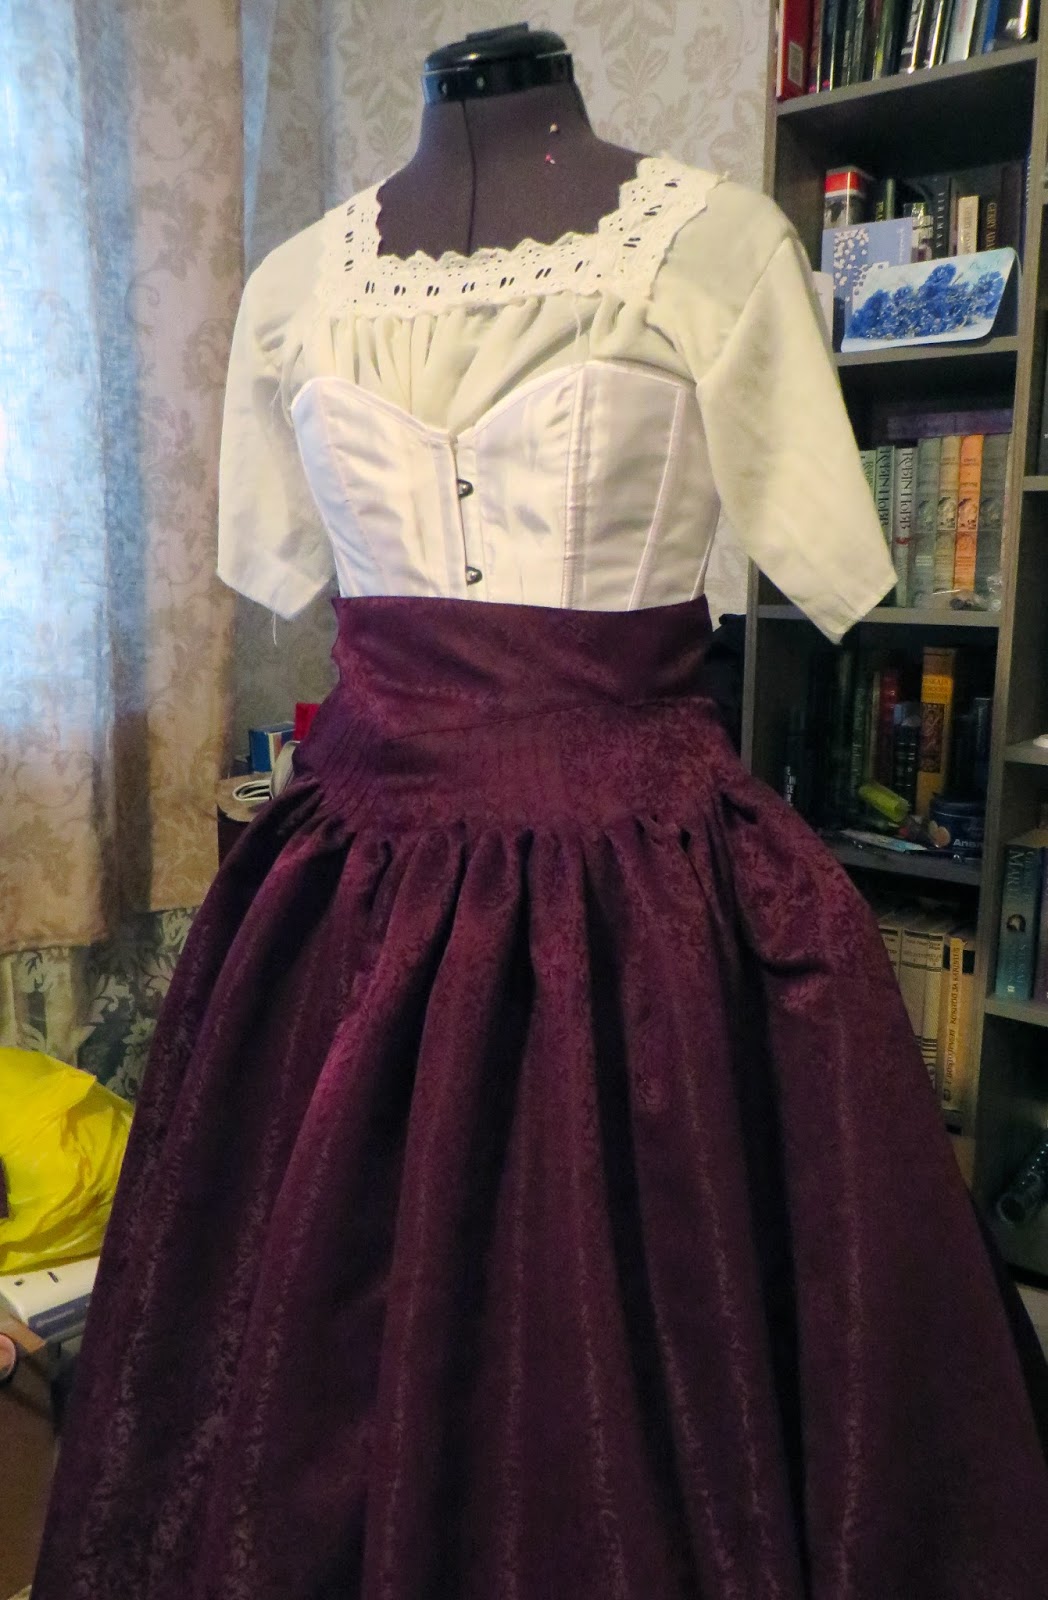
So, the next step in the project was the skirt. Compared to the jacket, this was easy. Easy but just time consuming. Just make the pleads. It took a day.
Then, as I had those skirt and jacket separately, I needed something that would be able to hold all this massive fabric that made the skirt. I tried to make "more neat" looking waistband but it could just not hold it.. so I went with this massive ugly solution but as it will be under the jacket, it will be fine.

Then the ruffles. I first had got myself some lace as on the sleeves and I thought I could use it. I tried. Main problem: it was totally wrong color. I got myself a silk color (as it was best I could find) and I did a try with a small piece of lace. Yes, I got it to better shade that would match the lace on the sleeves better. I think I had like 9-10 meters of that lace. I just started to calculate how much silk color I would need and how much time it would take and how much would it all cost.. so, in the end, I dropped the idea of using lace and went to cheap fabric store and got really nice and really light fabric that cost like 4 euros per meter and I could get so many ruffles out of it. I was just mad that I had spent something like 40 euros on that lace :S I still have the lace.. I could use it with some other projects but.. I was just mad as I had the fabric idea at first but then I thought it would take so much time to work the edges..
Anyway.. so it took my I think at least a day to deal with the ruffles.. most of it being zik-zaking over the edges with very small step. But the result with that kind of very light fabric is always amazing. Then I added two lines of black ribbon over the ruffles and opted out of making another line of ruffles. I think the one is fine. Totally happy with the result:
 Skirt done.. At least I had the dress.. now everything else was up to me how much time I can put into this costume before I have to wear it.
<<Previous || Next>>
Then, as I had those skirt and jacket separately, I needed something that would be able to hold all this massive fabric that made the skirt. I tried to make "more neat" looking waistband but it could just not hold it.. so I went with this massive ugly solution but as it will be under the jacket, it will be fine.
Then the ruffles. I first had got myself some lace as on the sleeves and I thought I could use it. I tried. Main problem: it was totally wrong color. I got myself a silk color (as it was best I could find) and I did a try with a small piece of lace. Yes, I got it to better shade that would match the lace on the sleeves better. I think I had like 9-10 meters of that lace. I just started to calculate how much silk color I would need and how much time it would take and how much would it all cost.. so, in the end, I dropped the idea of using lace and went to cheap fabric store and got really nice and really light fabric that cost like 4 euros per meter and I could get so many ruffles out of it. I was just mad that I had spent something like 40 euros on that lace :S I still have the lace.. I could use it with some other projects but.. I was just mad as I had the fabric idea at first but then I thought it would take so much time to work the edges..
Anyway.. so it took my I think at least a day to deal with the ruffles.. most of it being zik-zaking over the edges with very small step. But the result with that kind of very light fabric is always amazing. Then I added two lines of black ribbon over the ruffles and opted out of making another line of ruffles. I think the one is fine. Totally happy with the result:

<<Previous || Next>>


