Tuesday, May 19, 2015

Civil war era dress - the jacket

I started this civil war area dress with the jacket.

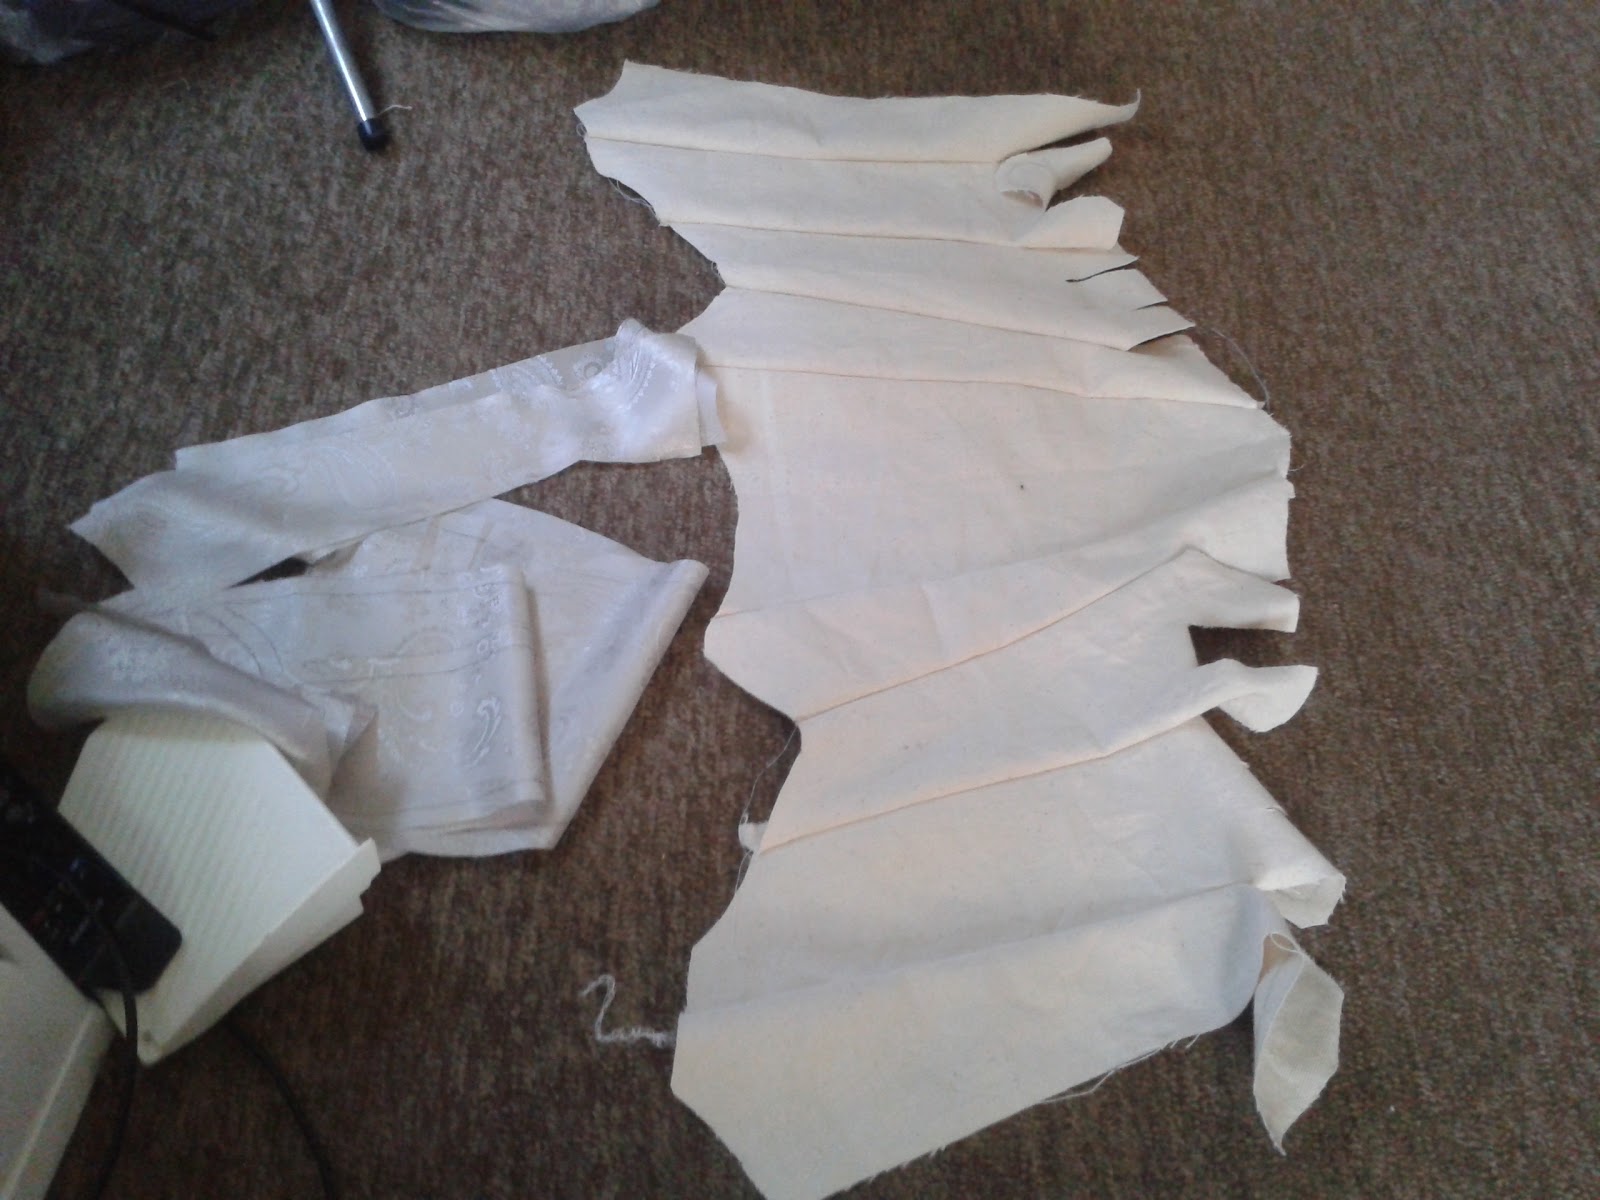
As always with me and simplicity patterns, I cannot understand the instructions. I cut all the pieces from the main fabric and then I used quite strong linen I have tons off for the lining of the jacket. When I tried to combine together main back piece and the back side pieces they just would not. I tried to read the instructions and figure it out again but no help. So I just used my own imagination and aligned the pieces so that the arm wholes and the bottom part of the back fit and there is some overlap in the middle. I still think there was some clever trick how to give wearer a better mobility but I was not able to see it. Also, the pattern did not seemed to care too much about the lining and all the seams were left visible from the wrong side. Correct me if I am wrong but I honestly think the point of lining is to make the gown look gorgeous also from the inside. Therefore I again took some liberties from the pattern and combined pieces together so that all the seams are hidden.
Trying to figure out the back
I also had some great time adding the boning. This time, in contrast to my Robe ala Francais, I knew what I was doing and I made some nice tunnels for the boning plus I made sure that the sides are all well supported by tucktape (I haven't figured out any other easy way).
Back starts to come together
The next major thing were the sleeves. At this point I tried to follow the instructions and make the ruffles from the same fabric as the dress. I spent whole evening with that mess. The fabric was too stiff and too hard for that and I wasted many hours.

Next day I was off to a fabric shop again and my plan was to get similar color really light fabric that I could use to make ruffles. I was still really mad about all the edges that took hours. So, I decided to go with easy way out and buy quite expensive lace that I used for the sleeves. They had it on very limited amount so I did not managed to save anything for later part of the dress - all the lace I got when to the sleeves.
I also got the black ribbon and I started to like where this is going. It looked gorgeous and lace was easy to gather - no worrying about the edges.

When I used the white linen as lining for the bodice to keep it strong, I used that nice black lining fabric for lining on the sleeves.
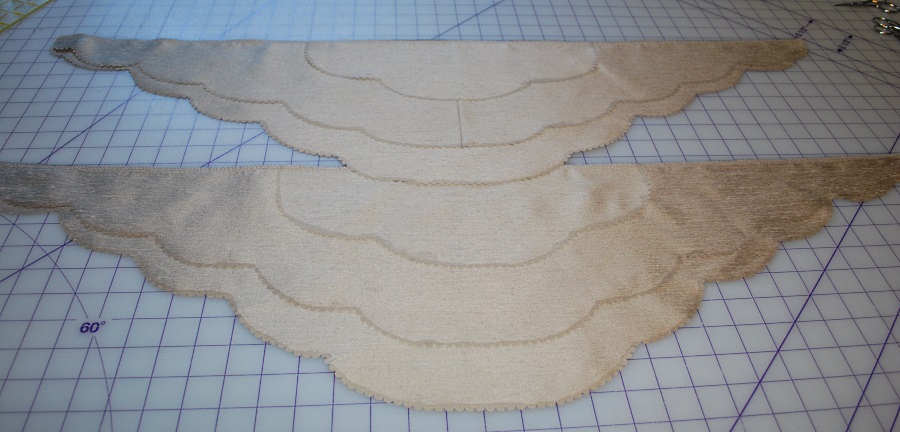
The next step was the collar. I planned to use the organza with embroidery as the top layer of the collar. The middle layer or the main layer was the purple fabric and it had black lining on the other side. 

The main trouble with the collar was that the pattern had really small opening for the head. I was not sure if it was my sewing margin do I have larger neck that the pattern assumed.. I had to do a lot of fixing and I was really scared to cut too much or cut from the wrong place.
I first planned to have a purple ribbon with the same style as the black I used on the sleeves over the collar but I could not figure where it would be best - on the side of the collar or little bit inside and in the end I really started to love my collar without it. So, the ribbon was left out in the end.
Those pads were very funny. I have no idea what were their point. I just followed the instructions and sewed them in, being really worried that they will make the dress look weird. I am not sure if they made it better or if they had any effect at all. I think that they probably should have helped to compensate that at the front the top part of the jacket had a lot of space. If I had needed to fill those pads so that there is no space left, I would have needed much more than three layers of cotton batting inside.
Sleeves added to the jacket

Trying the jacket on the mannequin
When I had sewed the bodice and the sleeves together I tried it on the mannequin and tried it on myself and realized that I had not done it before and ofcourse, it did not fit. The waist was too small and I mean - I have very small waist. Because all of those waist seams had tunnels and boning it was horrible to undo it. I left it like that currently and hoped that when I wear the corset and I add the snap fasteners and buttons maybe it will be fine.

Next step: the bottom part of the jacket and uncharted territory as I had no guide nor no patter. I just improvised and at first it looked like I can pull it off. The front two panels were the ones I did twice. The bodice at the front has those really nice seams in the middle and I had hard time figuring out how to match them at the bottom part. At first try, I did not take them to account and I think it looked off without those seams. So, I remade the first panel so that it has those seams and it was much better. I used the black fabric for lining.
Next step was to sew bottom and top together and to make that "overlap" at the front to match was a trouble. It looked lovely (and I am confused why I do not have any photos of that on its own.

So, I left the jacket for a while and went to deal with the skirt.. and horrible meters of ruffles.
<<Previous|Next>>

Civil War area dress 1

At the end of last year I signed up for western style larp taking place in Czech republic. I was reallye xcited when I got my casting as I got to play high society lady and that meant I could do one of those fancy dress projects. The story takes place 1866 so I decided I will go with the civil war area dress as it should be almost fine. 

The LARP was inspired by TV series "Hell on Wheels" so my first source of costume ideas was from the tv series. I really loved Lily Bell on the show and would have loved to play her but its fine. Playing char (who to my knowledge has not been in the show) gave me more freedom to choose my costume. 

The costumes from the TV series were all very practical and quite simple. I do understand that as they were living in that wild west. So, I did not get any specific good ideas from shows screencaps.
I started with gathering some general idea of the dresses and fashion of the area. I first thought that I do not like those dresses or.. I loved ball gowns but for that kind of out door event I needed something more casual. I did a lot of sketching and I think I finally fell for the era's fashion when I saw photos of Ada's dresses from movie "Cold Mountain". I particularly fell in love with the following:
So that was my starting point. I loved the ornaments at the sides and I really wanted to add them.

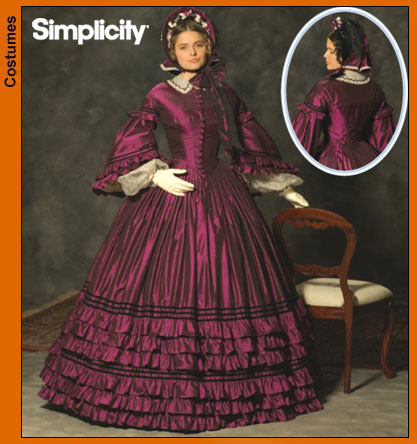
Then I started to look for a pattern. At that moment I did not know that simplicity has almost perfect pattern (4900) for that costume and the pattern I found was 4510:
So, I did some sketching to figure out what exactly do I want. I went to the fabric shop with following sketches:
So, I decided to use the pattern I got and add the bottom part of the jacket myself. I tried different options for skirt but decided to go with layers of ruffles. I also decided not to make it as a dress but more like separate parts: jacket and skirt. As I had no idea what kind of weather awaits me at the start of May, I might have needed to add layers below the costume or I was worried it may be too hot to wear and I might want to remove the jacket and wear simple blouse under it.

I actually spent a lot of time finding suitable fabric. I went to different fabric shops and returned empty handed. I wanted something that wouldn't be very thin and would be strong. I wasn't sure about the color either. I love bordeux red but I was worried that on that time it would be more suitable for "other kind of ladies". The shot on the pattern was done using purple fabric. My boyfriend tried to suggest me dark blue. I was still amazed by that amazing green fabric I found for my robe ala francais dress. I was torn until I walked to that amazing purple fabric with amazing pattern and texture on the clearance sale. 70% off. Wow. It was very expensive fabric still but I thought it is perfect.
Fabrics used in the project
 The pattern also stated that i needed contrast fabric (I went with the black lining fabric I have used before) and organza for the sleeves. I managed to find amazing piece of organza with gorgeous embroidery that I used for the sleeves and decorative layer on the collar.

So, after the research I figured out I need the following pieces:
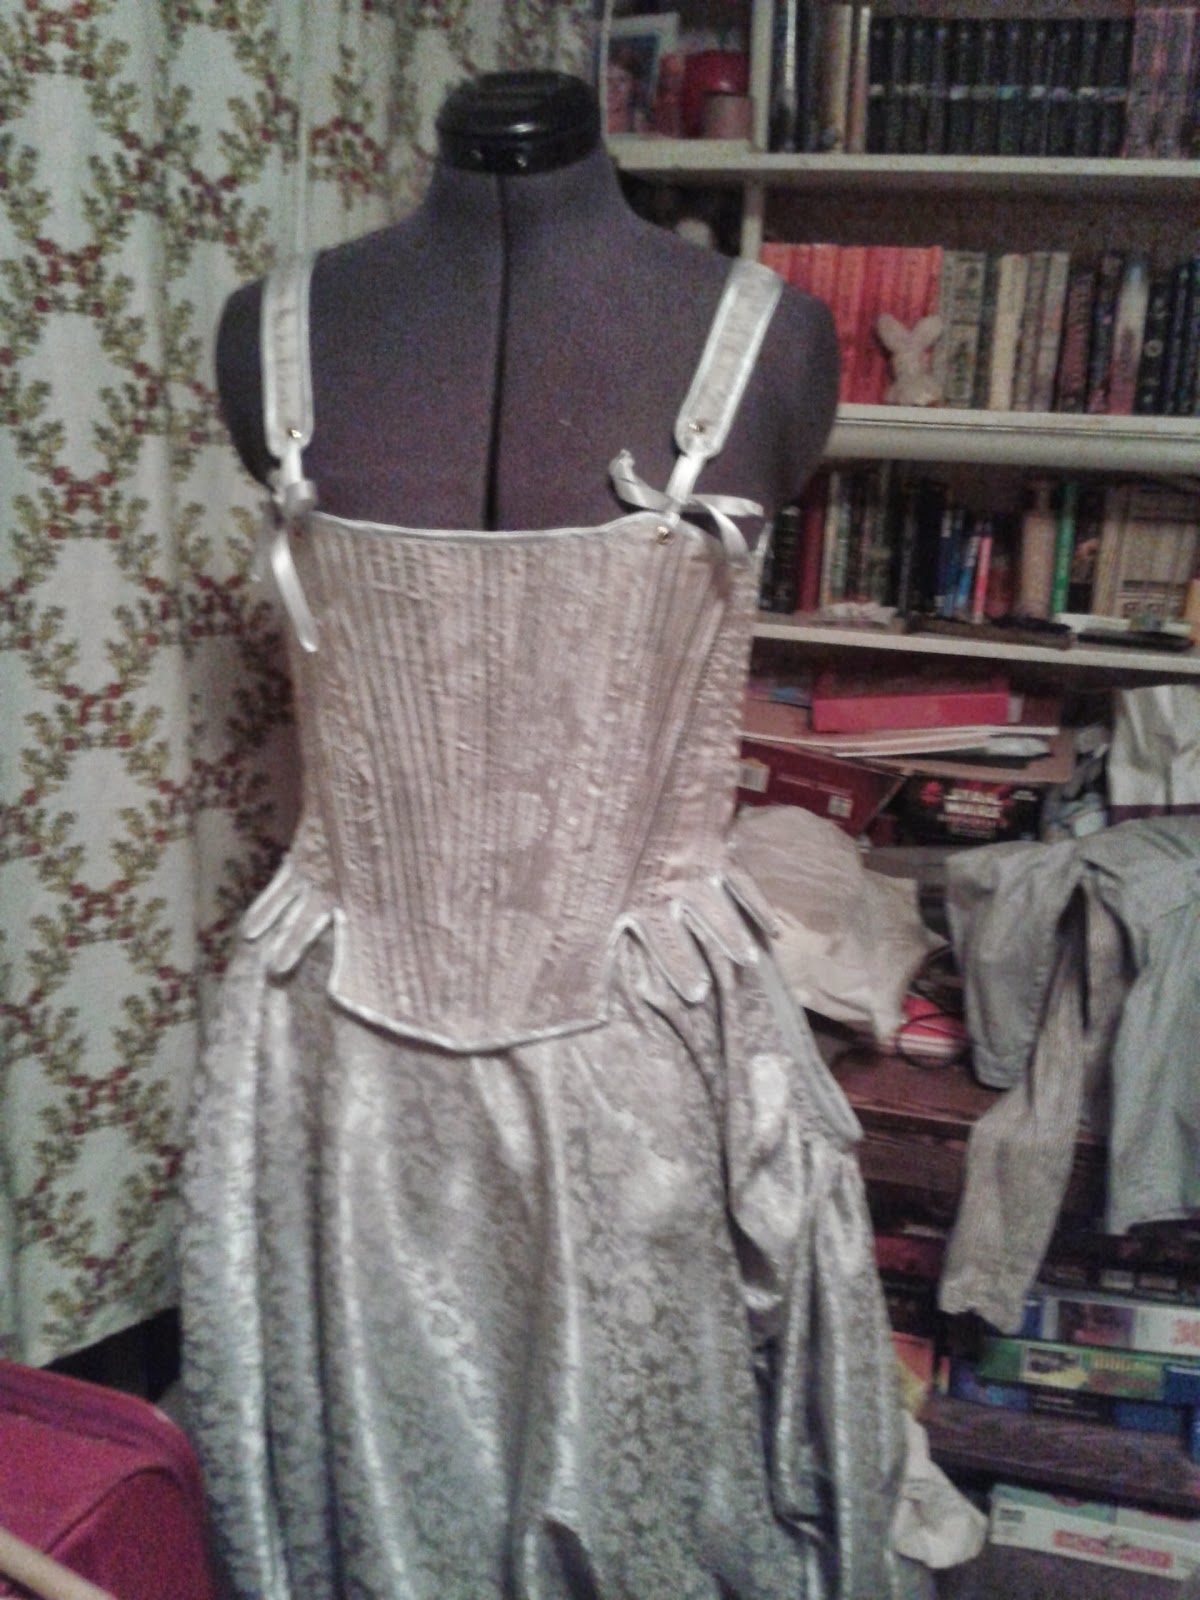
With the corset and the pannier I took the easy way out: I had that kind of cheap "made in China" wedding pannier on my costume stack. Actually, it was good choice as I needed to travel on plane and other girls were having horrible time managing to make their pannier fit into their luggage. With my "wedding pannier" I was able to wrap it around itself three times and fit it without troubles. I ordered a cheap white corset and first I planned to change the overall fabric on it as on the image it looked to be really reflective horrible white material. In the end, it came out, it was really nice and matte so I used it the way it was.
Next>>

Tuesday, October 28, 2014

Robe à la Française - the hat + final result

Previous:Robe a la francaise - dress
So, last post was all about the dress but while I made the dress, I also made myself an tricorn hat. I found really nice hat off the internet:
http://www.victorianhatter.com/page-2-tricorn-hats/
 & etsy store
 But I was not very eager of spending again so much money on the costume that already had required so much money. So I thought.. I will try myself to make hat similar like that. It is not going to be easy and I have no idea how to do it but let's try.

I ordered myself really cheap (I think it was 5-10$) pirate hat thing from ebay and then started to work on it. I used the same green cordon as I used on the dress on the sides of the hat. To stitch it into the place was many hours of work and my poor fingers.. they hurt so much as it required so much strength to push the needle trough the hat (the hat was made of stronger material than expected). Anyway, I had the ribbon at place after a lot of work. 

Then I went to fabric shop and got some smaller feathers. I found nice green ones that fit well with the dress and stitched them into the place. Then the next trouble was the veil at the back. I wanted green one but the shop only had few horrible tones. I got one that I thought was most similar to the dress but it looked so weird when it was done:
Veil added to the hat.
Then my trouble where the rivets on the hat. I tried to find fancier one but couldn't. In the end, like two days before leaving to the larp, I was hopeless but I came to the idea.. I used silver things used for jewelry making and clued them over the usual rivets.
Looks much better, doesn't it?
So, I also got myself black veil for the back and one really nice black veil for the front. I also got two big black feathers that I actually sewed to the hat after I had flown to Sweden (not that going to the larp with this hat has my hand luggage was also quite fun.. I just had that mysterious plastic bag that I hold so lightly as it was fragile and I was afraid of hurting the weathers).

Anyway.. I proved myself that with some time consuming work, I can make random ugly hat into really nice hat.

So, as I said.. I wore the dress on larp but sadly I have none of the pictures taken of me. This year, I wore the dress second time in a masquerade and from that time I do have photos.

 So, the dress, the hat.. :)

Robe à la Française - the dress

Previous:Robe a la francaise - petticoat&panier

Making this dress was a new kind of challenge for me. First of all - the amount of fabric I cut out. So, as I had that great simplicity pattern, I was quite confident that I will follow the instructions and it cannot go wrong. I was wrong - sadly I found the instructions to be hard to understand and they seemed to skip steps that were important. 

I started with making the bodice part. For the lining inside I used again that really strong linen I have. The trick for me was to deal with the rivets and applying them. I had never done that before (or.. more precisely, I have never succeeded on applying them) but I did managed it after getting myself a different kind of applier (the one where you put the rivet and fabric between some kind of plastic thing and hit it with the hammer). The only problem was that in order to get the rivets applied, I had to apply a lot of force and it hurt the plastic applier and rivets started to move inside it. Therefore, i had to get a new one before this project was done.

Anyway, the bodice. It also contained the most interesting part of the dress: draping. The pattern had it's own guide but it felt not draped enough. Also, I put much more fabric into the draping part than the pattern suggested. I sewed together two widths of the fabric (so, in the end, the width of drapes should be 3 meters) and used much nicer guide I found online. That method gave me really nice result. (even thought I spent hours on the floor, trying to pin it..)
But having so many layers of the fabric over itself was hard for the sewing machine. I broke one needle I think and then poor machine needed to go to repair shop (and I borrowed my mom's machine meanwhile to finish) as it started to make horrible sounds :S

Also, I got some weird mismatch with the pattern at this point. The part of the dress coming over the shoulder and connecting front and back did not fit and I was totally confused. I did some hocus-bocus and made it fit but it hurt me later.

I actually think that draping part was the hardest on technical side. Rest was just sewing really long lines.
bodice on the mannequin
So, next part was the skirt part of the dress. The hardest part of this was making the jags at the top to fit. I do not think it came out perfect and I had to take into account that I made the dress narrower than the pattern. Anyway, I managed to attach the skirt part and make the front stitch (even thought something weird was still going on there with extra fabric that I did not understand why it was there)
Dress is starting to look like dress :D (and the hat makes a first appearance, more of it later)
And the back..
So, next step were the sleeves and when after finishing the bodice, process was fast, the sleeves hurt me. First, I tried to follow the pattern and make sleeves have two sides and gather it all together but it felt so stiff and really robust and the gathering did not looked nice (also, it was hell trying to sew it)
adding sleaves (and my necklace arrived.. it was little wrong color but it looks gorgeous)
Anyway, I realized this is not going to work and as I was running out of fabric, I had to unstitch the sleeves. A lot of work hours. I decided to take a break from the sleeves and work on the stomacher. I was running quite on the time, so I had no time to take huge embroidering project as I started to like the idea of using the same green fabric for stomacher and have silver embroilment (floral deco) on it. I tried to find stitching machine but apparently there was none among my acquaintances. I thought going to the shop where they offered embroilment service but it was so so expensive that I decided to drop the idea and make stomacher simply from the silver fabric I also used for the petticoat. It was more simple than I first thought but it was fine and I always have the idea that I will make the green embroiled one later (one year later, it hadn't happened).

Stomacher took many long hours, adding silver atlas ribbon at the sides, having strong linen at the back with glue fabric. And then I added huge black snaps (small ones, i was afraid, are not going to hold it) to hold the stomacher at place. That process took many tries as the mannequin (even if carefully calibrated) was not suitable for fitting those in place. So, it was adding one snap at the time, making one side fit and then making the other side. I think it was two nights, watching tv and sewing snaps.
Stomacher is added
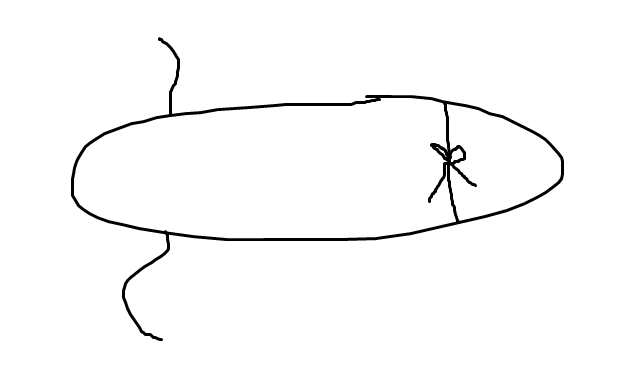
So, I was still trying to avoid the sleeves and I went to make the under-dress from really nice and thin linen fabric. I googeled about under-dressed of that time and decided to go with really simple method. It was supposed to be rectangle and then triangles at the side but I was lazy again and combined them together so I would have less stitching.
(oh no... horrible drawings again)
Under-dress being made
Also, I started to work more on the details on the dress. I found really nice ribbon from the shop that was almost has wide as the stitch at the front of the dress. I combined it with cordon ribbon I had planned to use before.
And I got some really nice lace for the underdress side of the sleeves.
So, making that ribbon and sewing the underdress - it all took me less than a day (it was one very successful Saturday)

So, results so far:
Underdress and corset alone
Panier and petticoat are added
Dress with ribbon and stomacher has got some frill-ribbon to make it little more sophisticated
So, then, it was back to the sleeves as everything else was mostly done.I did some googeling and found amazing blog about really fancy robe a la francaise and she had made brilliant looking sleeves:
http://starlightmasquerade.com/taupe-robe-a-la-francaise-sleeves-done/
So, I decided to go with something similar. I sadly did not had any better way to work the hard egdes of the fabric rather than introduce fabric to some heat (candle) - I tried using small zic-zac from sewing machine but it looked horrible. It made the fabric (yup, reminding me that most of the fabrics we wear are plastic) melt nicely and made sure there is not going to be spliting. 


 This time it worked much better. I did the gathering manually (instead of using machine like on my first try) and made it worked. And that actually was it. I sadly have no pictures of the finished dress before the larp (nor actually from the larp - except big group photo where the dress can hardly be seen).

And I am actually glad I had so much time to make the dress. I was able to work on it with normal schedule and I finished just before leaving to the larp. It took me 2.5 months but I still think it was all worth it.

(there is going to be another post.. about the hat)

Monday, October 27, 2014

Robe à la Française - Petticoat & panier


So, now when I was done with the corset, I started with the actual dress. The dress itself will contain many pieces and I went with the most easiest one at first - petticoat. I had nice silver fabric for that. The main question for me was how will I decorate the petticoat.  As the fabric itself had quite a lot of pattern, I decided to go with just a frill at the bottom. As most of the petticoat is going to be hidden under the dress, I only made the frill at the front part of the petticoat.

Making the petticoat was quite easy. The petticoat contained two rectangular pieces. Both sides had been gathered and lined. For wearing the petticoat,it has ribbons that could be used to knot the petticoat around the waist. In order to have the side pockets (that became out to be brilliant to put hide things under the dress with a little bag) hold together, I used hooks on both sides to force it to be closer.

(sorry for not my so great drawings)
Petticoat is ready (without pannier)
 Then, the next step for myself was making the panier. I did not had pattern for it but just followed instructions from this great site: http://www.marquise.de/en/1700/howto/frauen/paniers.shtml The difference was that I decided to make not a long panier but quite short and modified the suggested pattern in a way that i could cut it out from two pieces of fabric. I used really strong linen and strong metallic corset supports (they were quite expensive but I knew that in order to hold that weight that the dress is going to be, I need something strong.
So, first I sewed two pieces of panier together and then I used satin ribbon to make tunnels where I pushed in the metallic corset supports. My mistake was that I did not thought that the metal is going to push itself out of the satin ribbon and I tried to fix it by adding extra pieces at the end of the tunnels from even stronger fabric and it helped a little but it is not perfect solution.

Using ribbons at the bottom to make the panier be in the right shape
To hold the panier in the right shape, I added four ribbons (atlas ribbon again) at the bottom of the pannier that could be used to knot together and therefore force the panier into the required shape. Also, there are ribbons at the top that are used to knot the panier around the waist.

In the end, I must say, panier was much more trouble than I expected and metal was hard to work and tunnels took long to make. I am not happy with my result as it contains some sloppy sewing but my excuse was - it is going to be under the dress: noone is going to see it.
Panier under the petticoat.
When I had finished with panier and tried petticoat under it, I realized that the petticoat was wider than my panier (and even thought I felt myself so wide when I tried panier on myself and had to go trough doors sideways). So, I took the pleads at the sides together more, almost 1/3 I would say as the original pattern seems to be for so much wider skirt.
Fixed petticoat with panier

Thursday, September 4, 2014

Robe à la Française - corset


So, the first step was working with the corset. I have never made anything like corset before. So, I was little daunted by the prospect. Anyway, after some research I found Isis' Wardrobe blog where she had linked a pattern for 18th century corset
http://isiswardrobe.blogspot.com/2011/05/red-stays.html
It looked like something I was looking for.. It also did not scared hell out of me.. so I used the trick I learned from art class - using squares to magnify the image. First I was doing the squares by hand but then I remembered I could use excel to print myself right size squares (I had to figure out how much I actually need to magnify those patterns). 
Making squares, by hand, at first - printing was so much easier

The square method works the following way:
  • I make small squares on the original image, so that it would be easier to copy details
  • I make sheets with larger squares (depending how much I want to magnify the original image)
  • I copy, by hand, those squares, one by one into the larger sheets.. and voila :D
Anyway, this is how I got myself the pattern for the corset. I did it twice - first time I did magnify little too much. Second time, I got it right. I tried my newly made pattern on the mannequin and I was actually surprised it fit that well.

Even thought it fit quite all right, I decided to make a quick mock-up to really see where I need to adjust the pattern. I used some really cheap fabric and it is horribly lousy but the mock up:
After the mock up, I saw that there were some adjustments to be made (mostly at the front where I am smaller than the pattern) and I modified my cut-out patterns. Then, I went for my really nice lining fabric to cut put the pieces. It looks silver, soft and nice. The only problem - my usual marking tools did not worked on the light fabric and pencil did not made any marks either.. so, I used gel pen that was way too strong and left marks that were visible on the other side - I had to pay a lot of attention to sew it together without mistakes. For the lining, of the corset, I used quite strong linen.

First step was to sew everything together so that the corset would be one piece:
Corset lining sewed together and
For the boning, I bought 17 meters (:S) of really light plastic boning. It has fine zones and it is not as width as my pattern assumed.. so that became tricky later. Anyway, it was cheap and in the end, it did the work perfectly. 
corset main fabric and those really ugly black gel pen lines :S
Anyway, when I had both sides made, I sewed the corset together, sewed the lines that have to fit and started to insert the boning (I left the top part open). I started with those small things at the bottom and it was actually great to see when the corset started to take a shape. Then, I submitted boning to the edges and submitted rivets. I had never done that before and that was tricky. I managed to get some kind of set from the fabric shop where you have to use plastic thing where you put the rivet and then hit it with the hammer. I was first scared about the strength I had to put behind the hammer but otherwise the rivets just well out. Then, after like 10 rivets, the plastic thing started to wear out that made later rivets more out of shape as I had to hit them more and harder. In the end, it did not looked too bad.

So, the boning. As it was plastic, it was not a problem for me to sew over it. I must say, I am not even sure what method I used. I first thought I made a tunnel for the boning and then pushed it into but on the other hand - I know I am horrible at sewing straight lines, so I think I probably put the boning there and tried to sew the tunnel while the bone was set.. I know in some places I sew over the boning.. Anyway. It took a lot of work and patience but the result was worth it.
Almost done. I ran out of boning and needed to get some meters more
When I had done with the boning, I worked at the top side. It was a lot of work by hand. Also, I used silver tape on all sides to make sure that the boning would not "eat" trough the fabric. it seemed sufficient enough. 

The mistake I did with the top side was that when I made the tunnels for the bones, I sew it almost to the top side.. Now, when I wanted to turn the two fabrics together to make it look nice, I had to undo  5 cm or so everywhere at the top, finish the top side and then sew, again, those boning tunnels so that it would be finished. Part of not thinking ahead.

Then, I wanted to put a bias tape at the side of the corset for effect- I had nice silver bias tape and then i got few meters of silver atlas tape for the back. Hours small handwork to take the bias tape and then some tricky sewing with the machine and done:
front
back

So, it took me around 3 weeks to make the corset, from the patterns to final piece. And I did put huge hours to it. It was hard and tricky but unexpectedly pleasant. I would have never thought myself that I would make a corset myself and that it was not that hard. lot of patience and work but nothing I could not do. And it feels brilliant when I wear it :D